How To Install Your Theme
IMPORTANT: This section assumes that you have already installed WordPress. If this is NOT, please click here - you'll be redirected to wordpress.org for details on how to install WordPress.
Related Video Tutorials
Step 1: Ensure Install is Up-To-Date & that PHP 7 is Selected
Before installing your purchased theme, please make sure that your WordPress install is up-to-date. You should always make sure that you are running the latest version of WordPress, as otherwise you might be putting your site at risk. Also, as our themes make use of all the latest WordPress functions to ensure it's fully optimized, it's important that you are not running an outdated version.
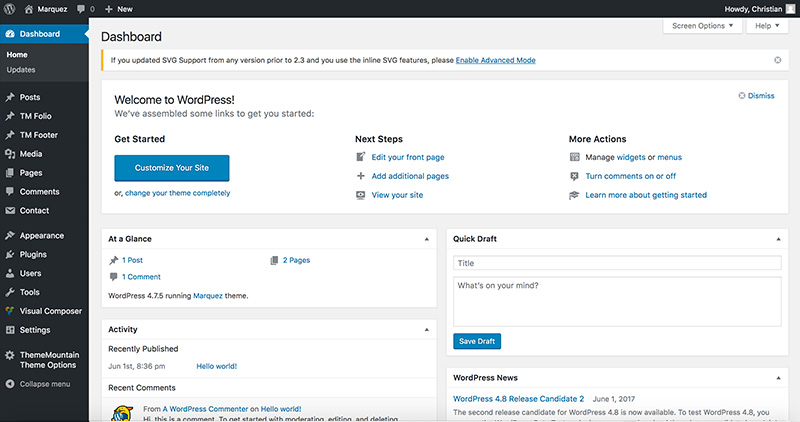
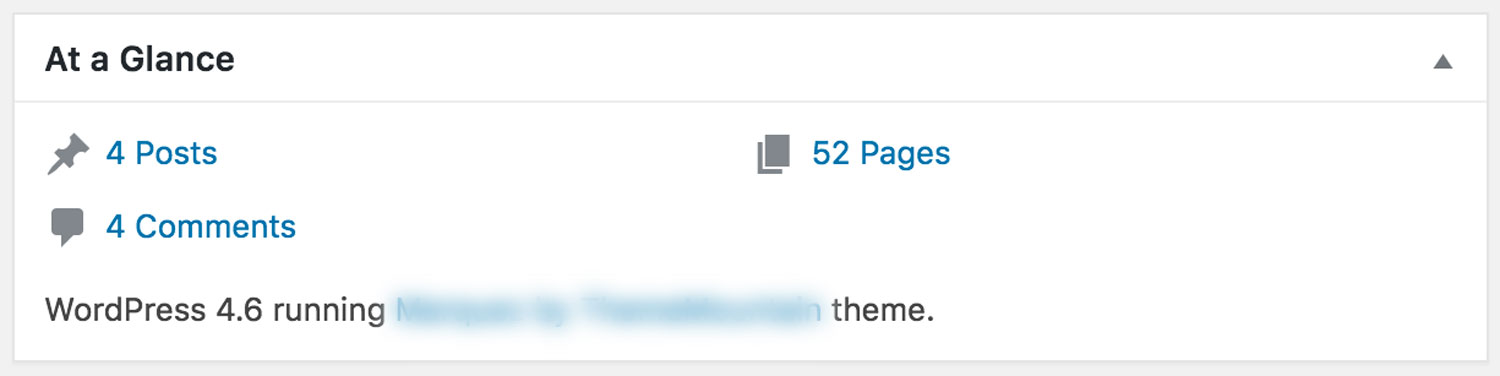
To check the version, log into WordPress and check the section that says "At a Glance" in your dashboard, for example:
If you are
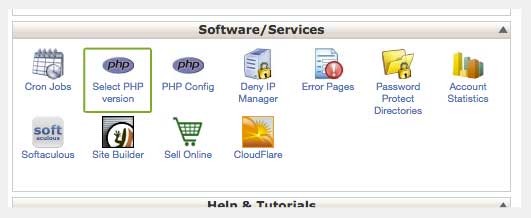
Step 1: Select change PHP version
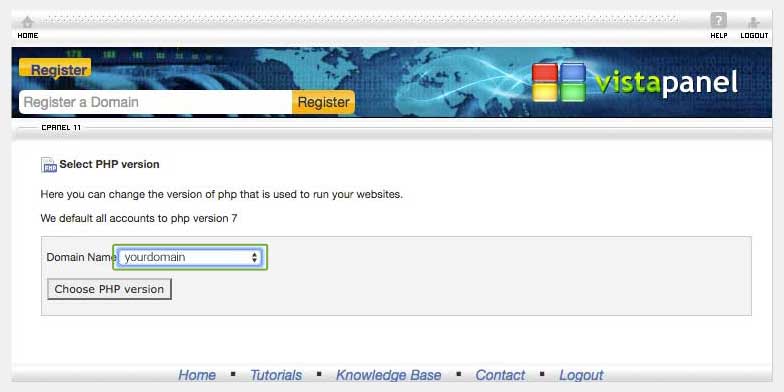
Step 2: Select your domain
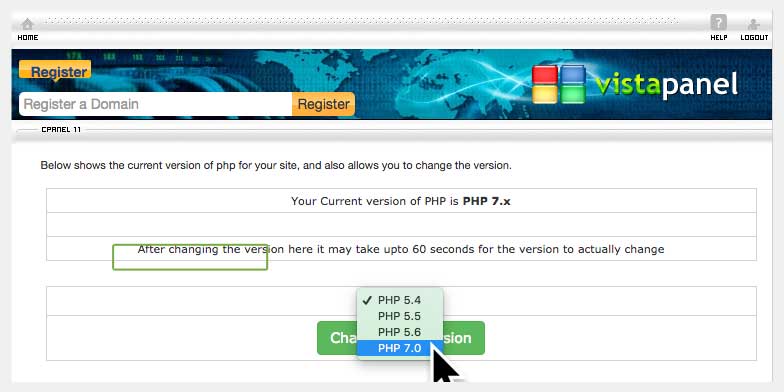
Step 3: Select PHP 7.0
Step 2: Download Your Theme Files
If you went ahead and downloaded the theme after your purchase you likely have ZIP file called “themeforest-XXXXXXXX-theme-name.zip“. If this is the case, ensure to unzip this folder and locate the "installable-theme/theme-name.zip" folder. This is the folder that you will be uploading to WordPress.
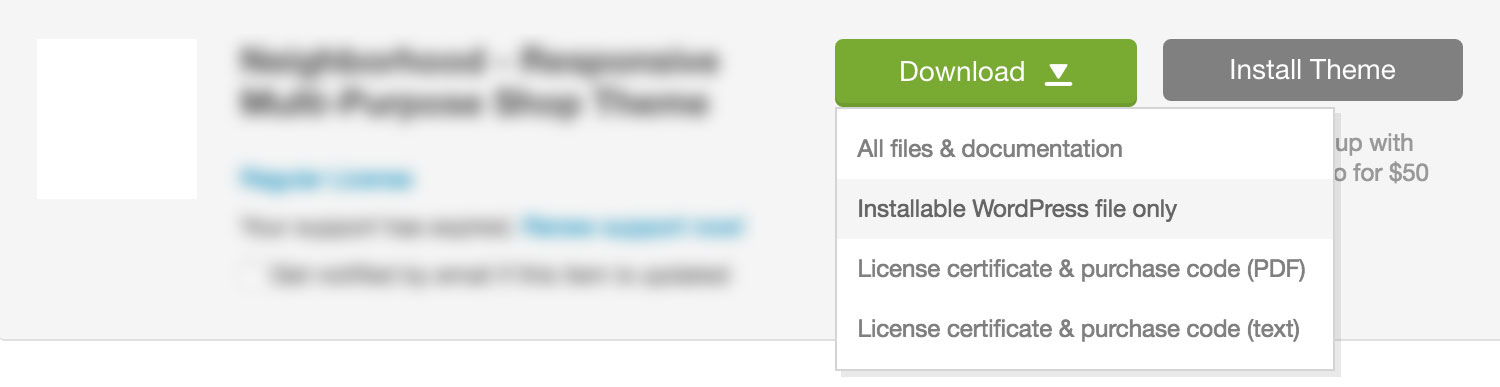
If you have not yet downloaded your purchase, then log into your ThemeForest account and go to "Downloads". Click the Download button and select “Installable WordPress file only”. This will download the theme folder only, the one which you'll be uploading to WordPress, for example:
.
Step 3: Installing Your Theme
Through WordPress
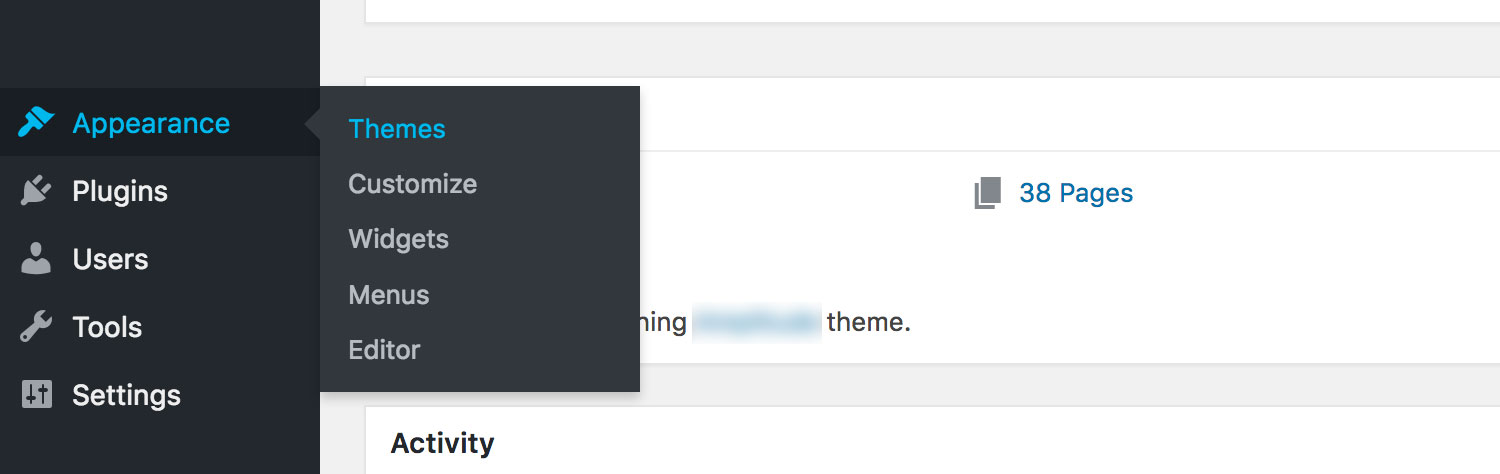
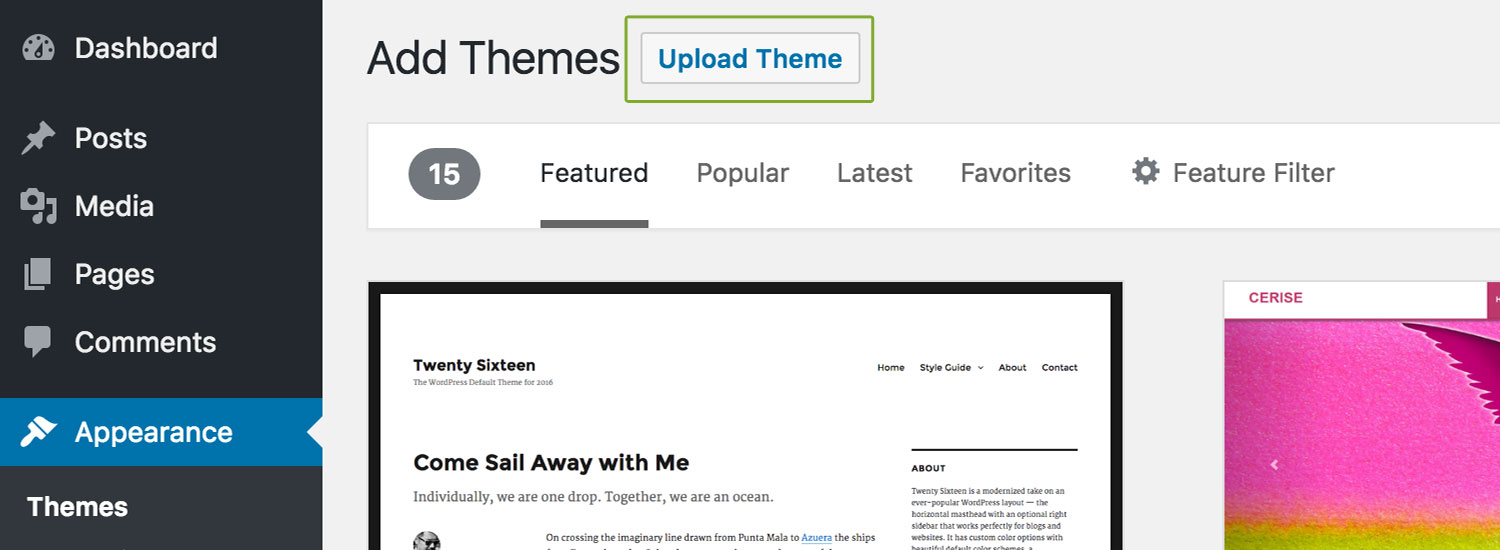
Log into your WordPress website and browse to Appearance > Themes, for example:
Click the "Add New" button, for example:

Click the "Upload New Theme" button, for example:
Now click the "Choose File" button and browse to the zipped theme file you downloaded from ThemeForest (ensure this is the installable zip folder "installable-theme/theme-name.zip"), for example:

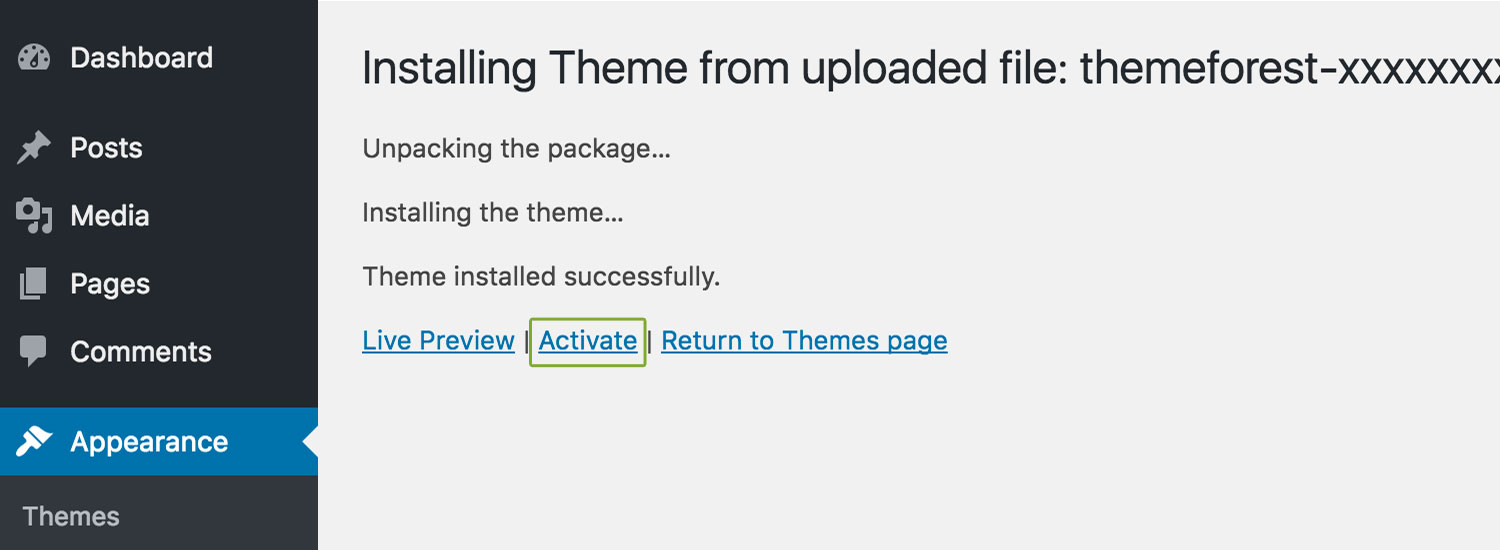
Once WordPress has unpacked and installed the theme, click the "Activate" link, for example:
Through FTP
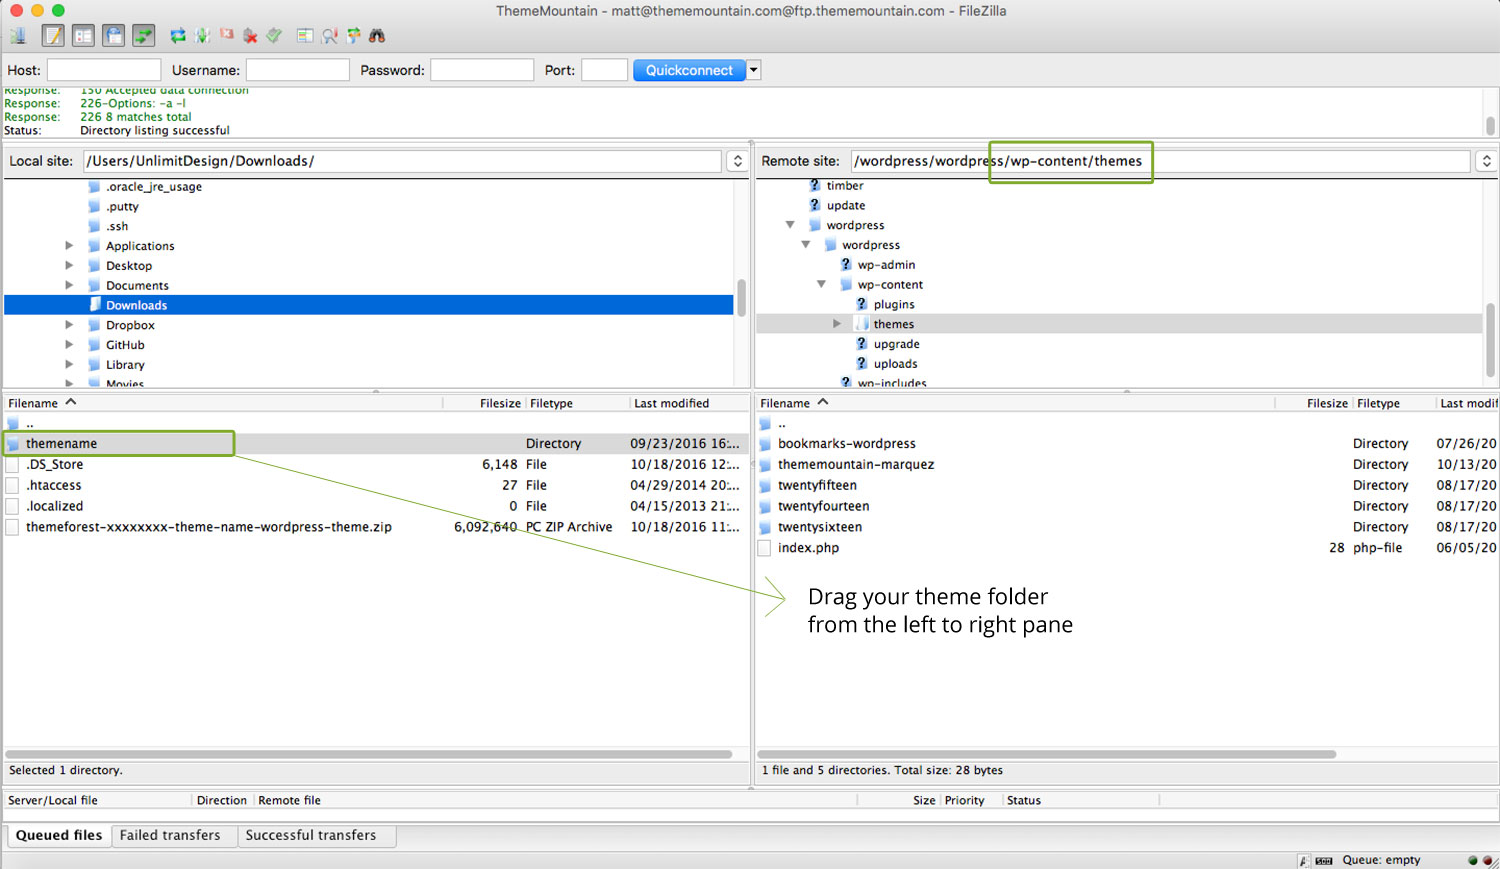
If the WordPress theme uploader fails, you can install the theme through FTP. To install themes via FTP, you need to have a FTP software such as FileZilla ( click here to download). Once the FTP software is downloaded and installed, connect to your server using your FTP details and navigate to to your folder located at wp-content/themes. Unzip the theme file you downloaded from Themeforest and upload ONLY the extracted theme folder to your server, for example:
Troubleshooting
-
I don't see a zip file after the download?
Some browsers (such as Safari) auto extract the .zip file once downloaded. Try to right-click on the download link and select "download file as". If you are a Safari user, you can disable the auto open feature by going to Safari > Preference and uncheck Open safe files after downloading.
-
WordPress says theme is broken or missing a stylesheet?
This error generally occurs because the theme has been installed incorrectly. Make sure you upload the installable zip folder "installable-theme/theme-name.zip", NOT the entire ThemeForest folder that contains all assets etc.
Can't find what you're looking for? Submit a request in our forum.