Custom Menus
Related Video Tutorials
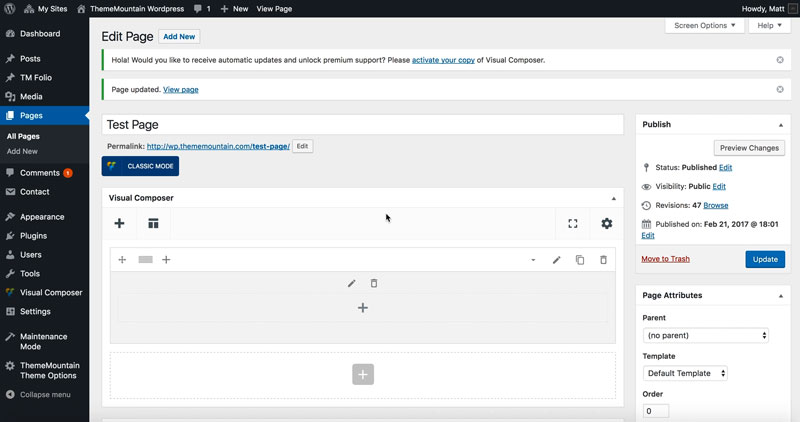
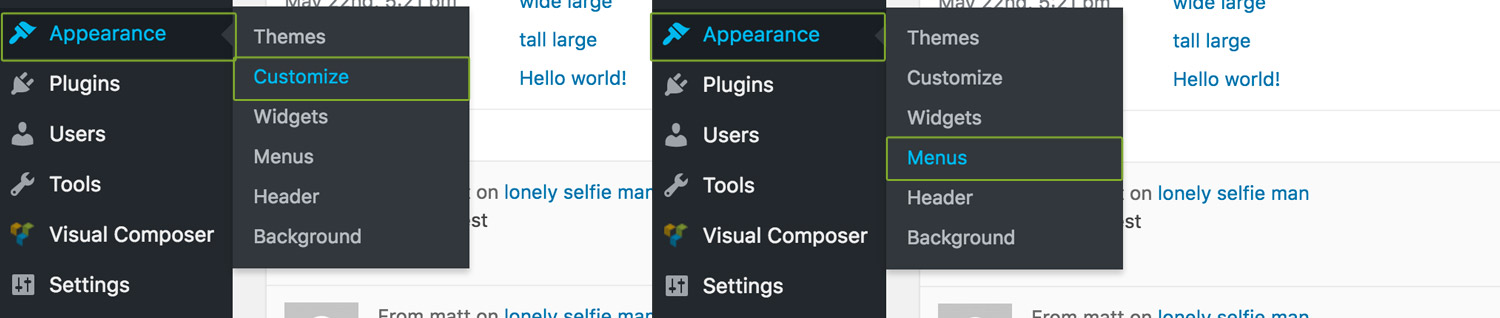
Custom Menus are a list of common links that are usually displayed as the main navigation for your site. This theme offers two menu locations, namely the header (main navigation) and overlayed navigation (off canvas navigation). Custom menus can be created and managed under Appearance > Customize > Menus (with live preview) or under Appearance > Menus, for example:
Managing Menus Through Customiser
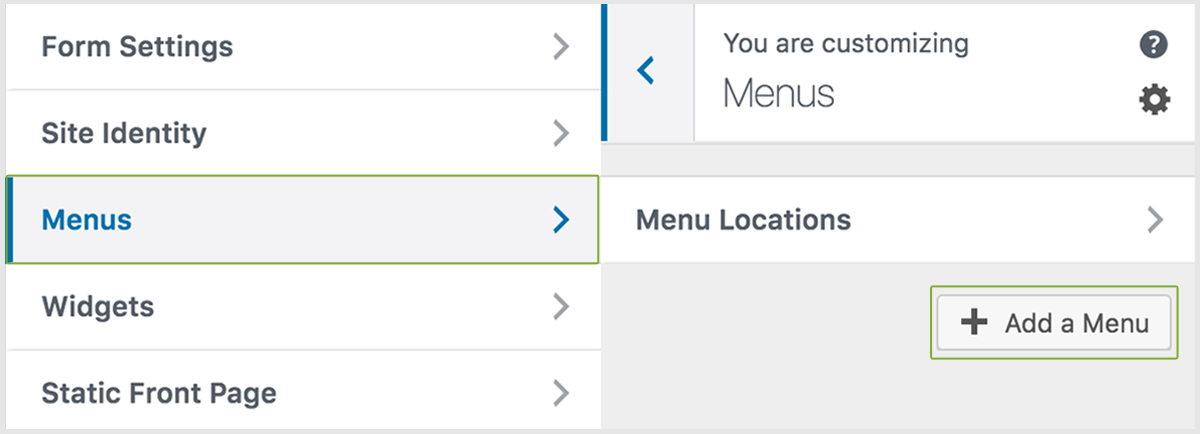
Step 1. Add Menu
Click Menus and then Add Menu, for example:
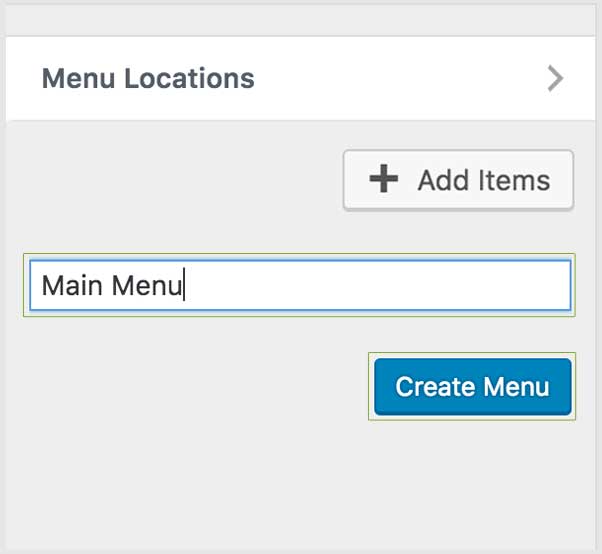
Step 2. Name Menu
In this example we are creating the main site navigation, therefore we'll name it Main Menu. Once named, click Create Menu, for example:
Step 3. Set Menu Location
This theme offers four menu locations, namely: Main Navigation Menu, Overlay Menu, Overlay Secondary Menu and Social Links. The first two locations act as both main site navigation and mobile navigation. Therefore, in this step we'll set the location to Main Navigation Menu and Overlay Menu) under "Display Location". This means that any page you add to this menu will appear in the header and the overlay mobile navigation. For example:
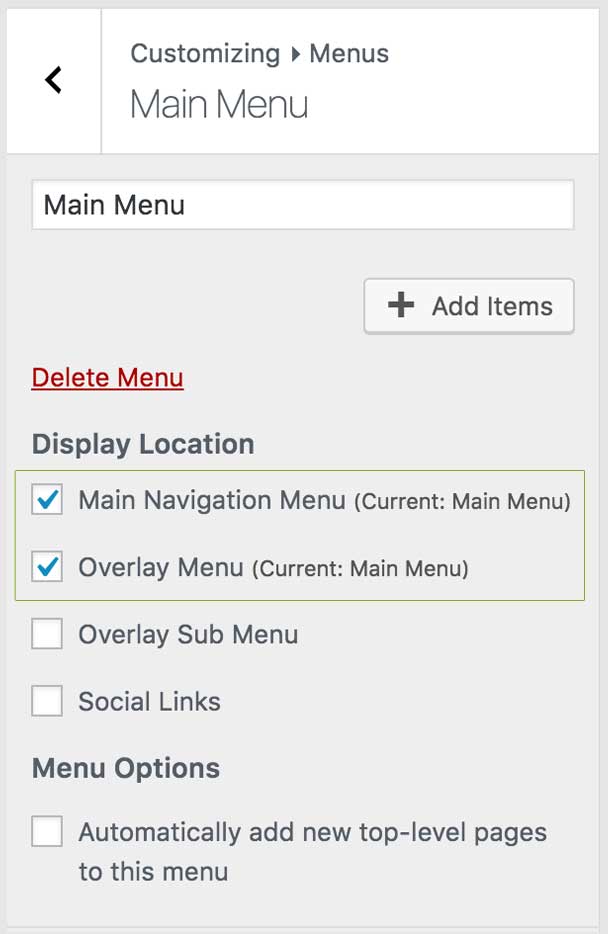
IMPORTANT: If you'd like top level pages to be automatically added to the navigation of your choice, make sure to select the checkbox under Menu Options.
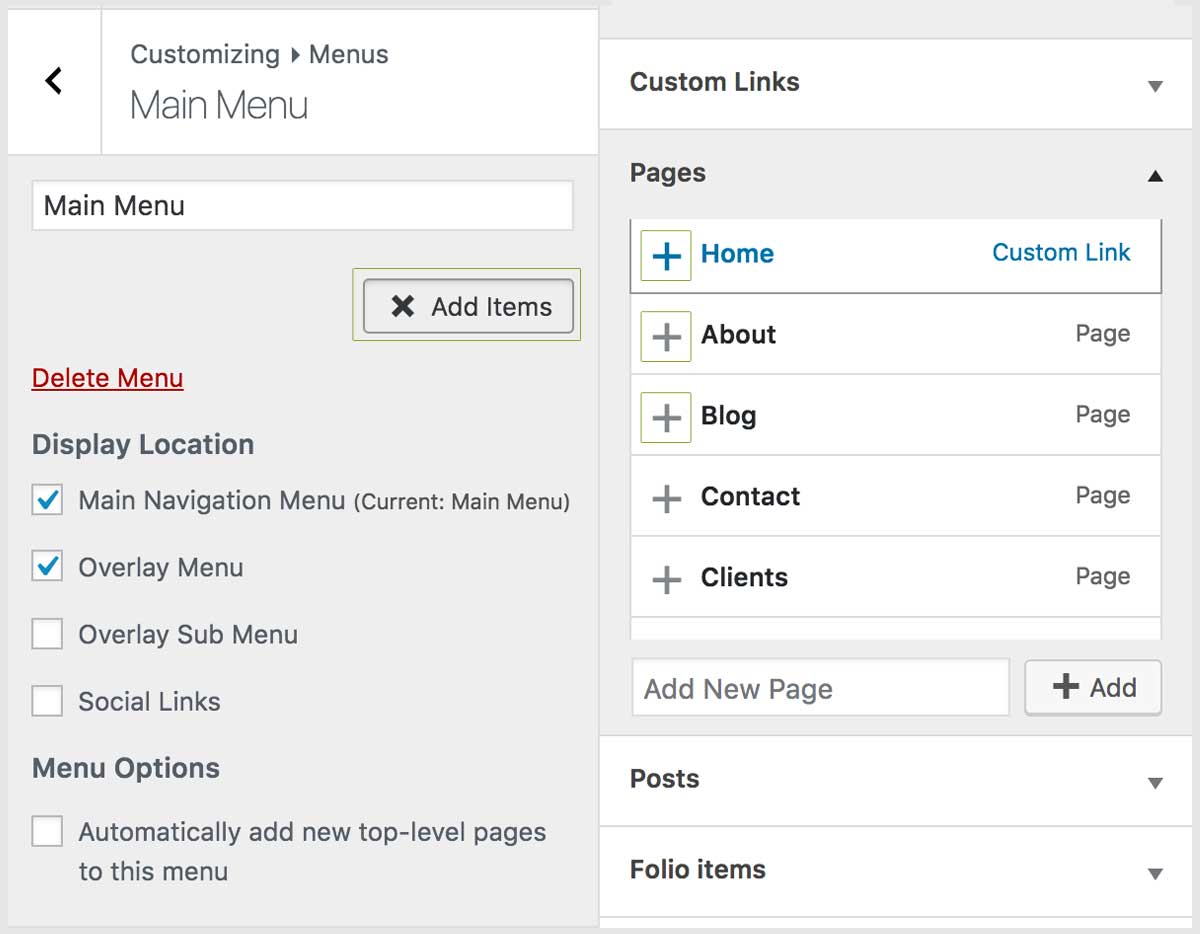
Step 4. Add Menu Items
Then select the pages, posts, portfolio items, categories or custom links to add to the menu. We can add these items by clicking + to the left of the item name, for example:
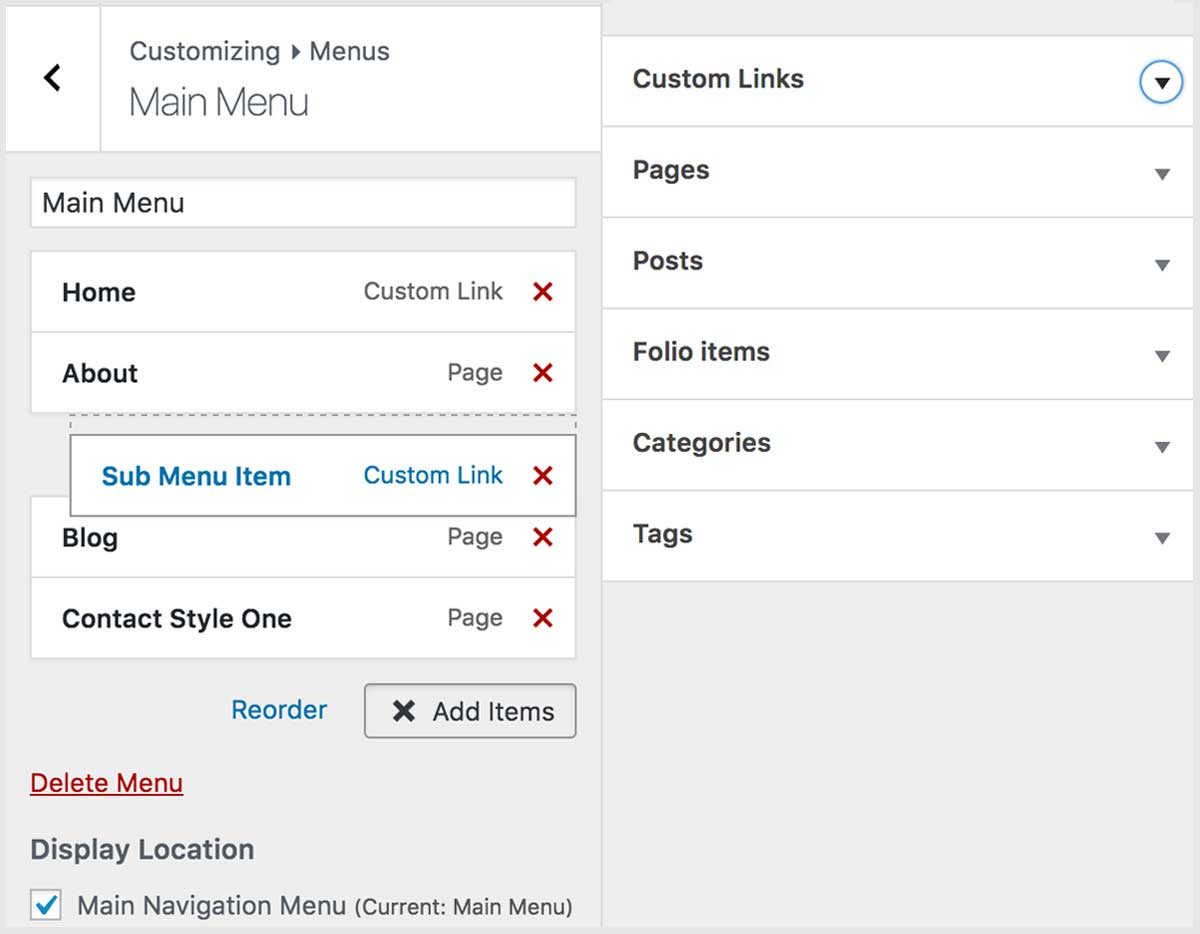
Step 5. Add Sub Menu Items
To add a sub-menu item to the main navigation, simply add another item to menu as indicated in step 3.. Once added, simply drag the item until you see the sub menu item drop zone appear and release, for example:
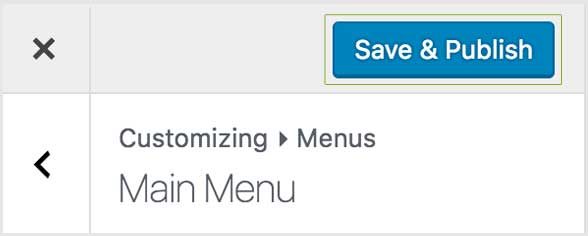
Step 6. Save & Publish
Once your menu is completed click Save & Publish, for example:
Managing Menus the Traditional Way
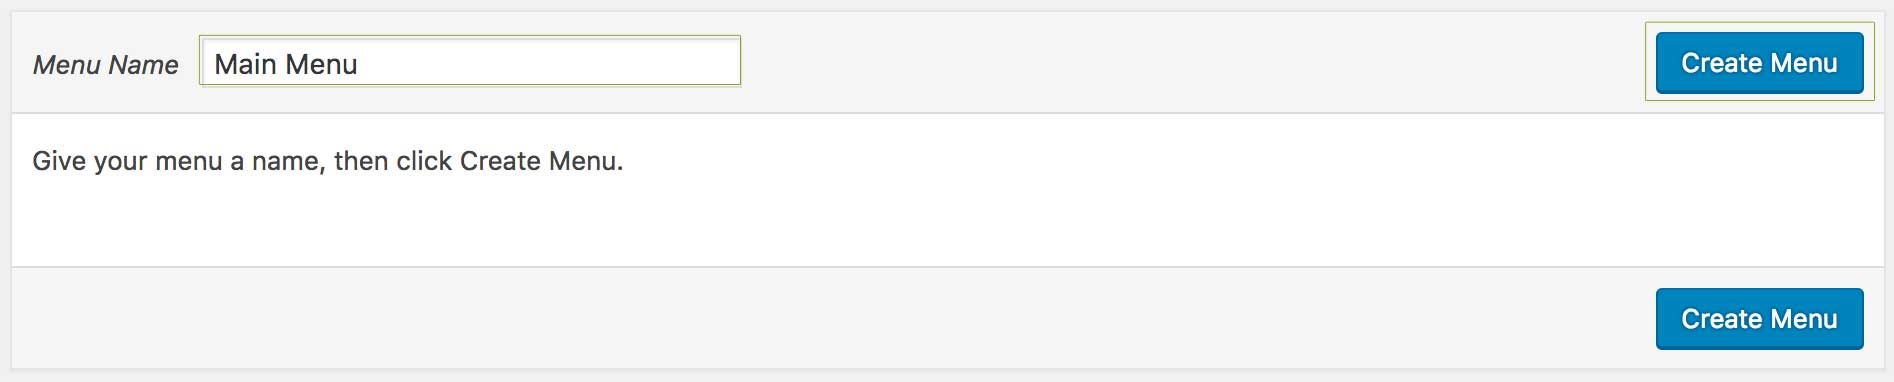
Step 1. Add Menu
In this example we are creating the main site navigation, therefore we'll name it Main Menu. Once named, click Create Menu, for example:
Step 2. Set Menu Location
This theme offers four menu locations, namely: Main Navigation Menu, Overlay Menu, Overlay Secondary Menu, Off Canvas Menu,Off Canvas Secondary Menu and Social Links. The first four locations act as both main site navigation and mobile navigation. Therefore, in this step we'll set the location to Main Navigation Menu and Overlay Menu or Off Canvas Menu) under "Display Location". This means that any page you add to this menu will appear in the header and the overlay or off-canvas mobile navigation. Once the options have been selected click Save Menu, for example:
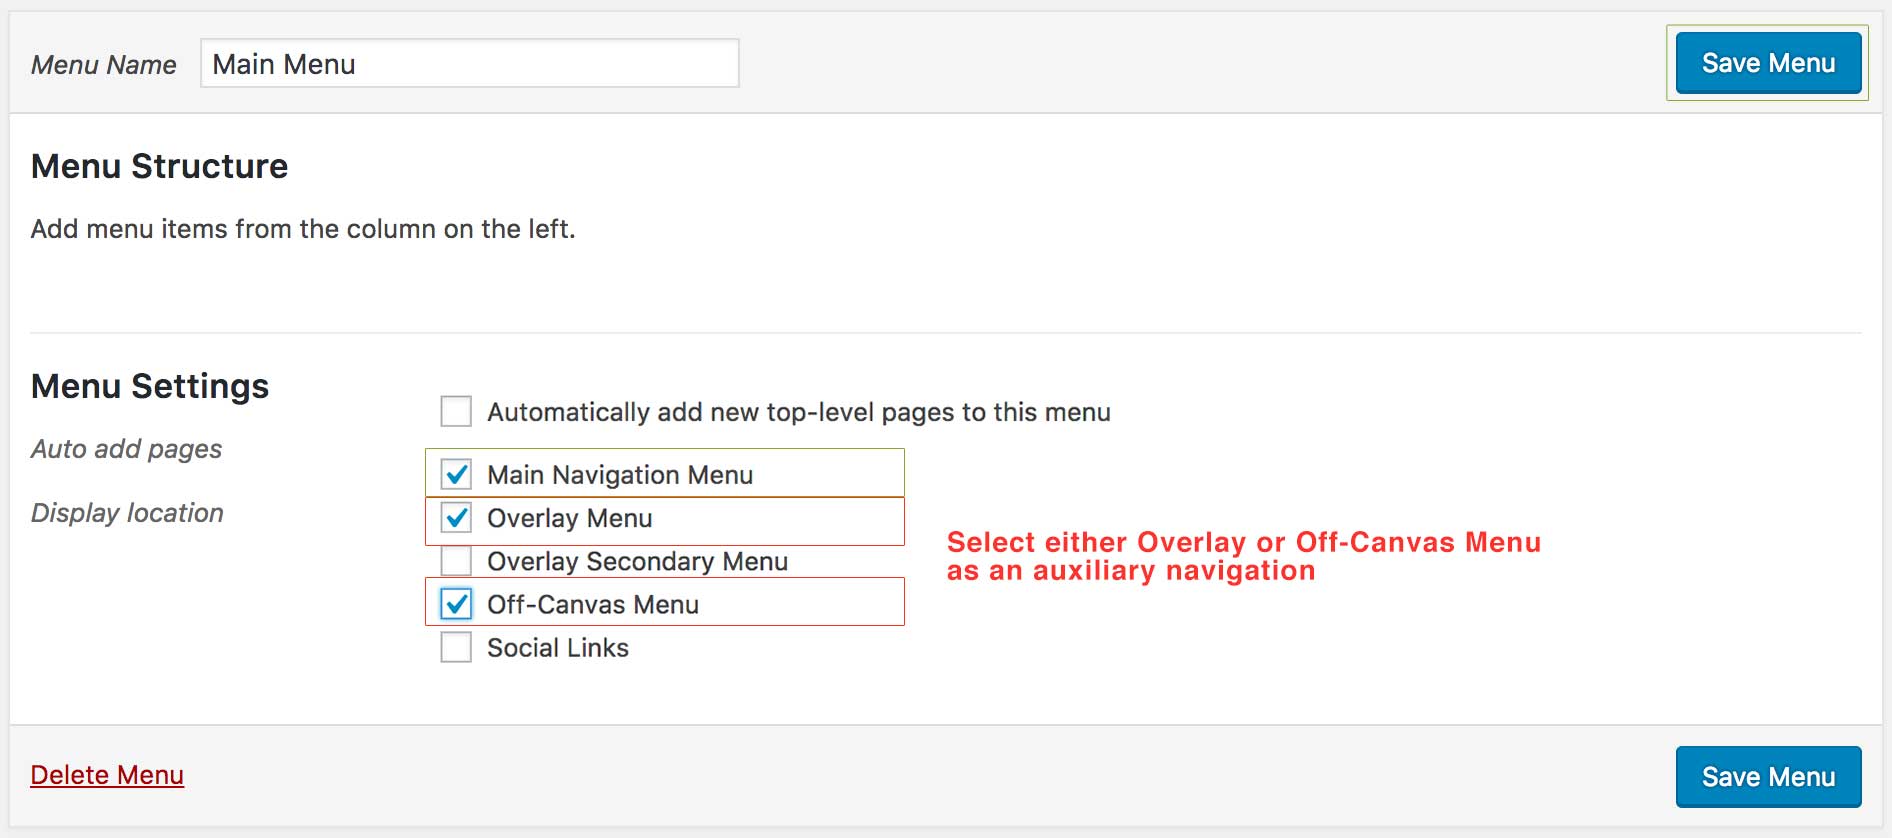
IMPORTANT: If you'd like top level pages to be automatically added to the navigation of your choice, make sure to check Auto add pages.
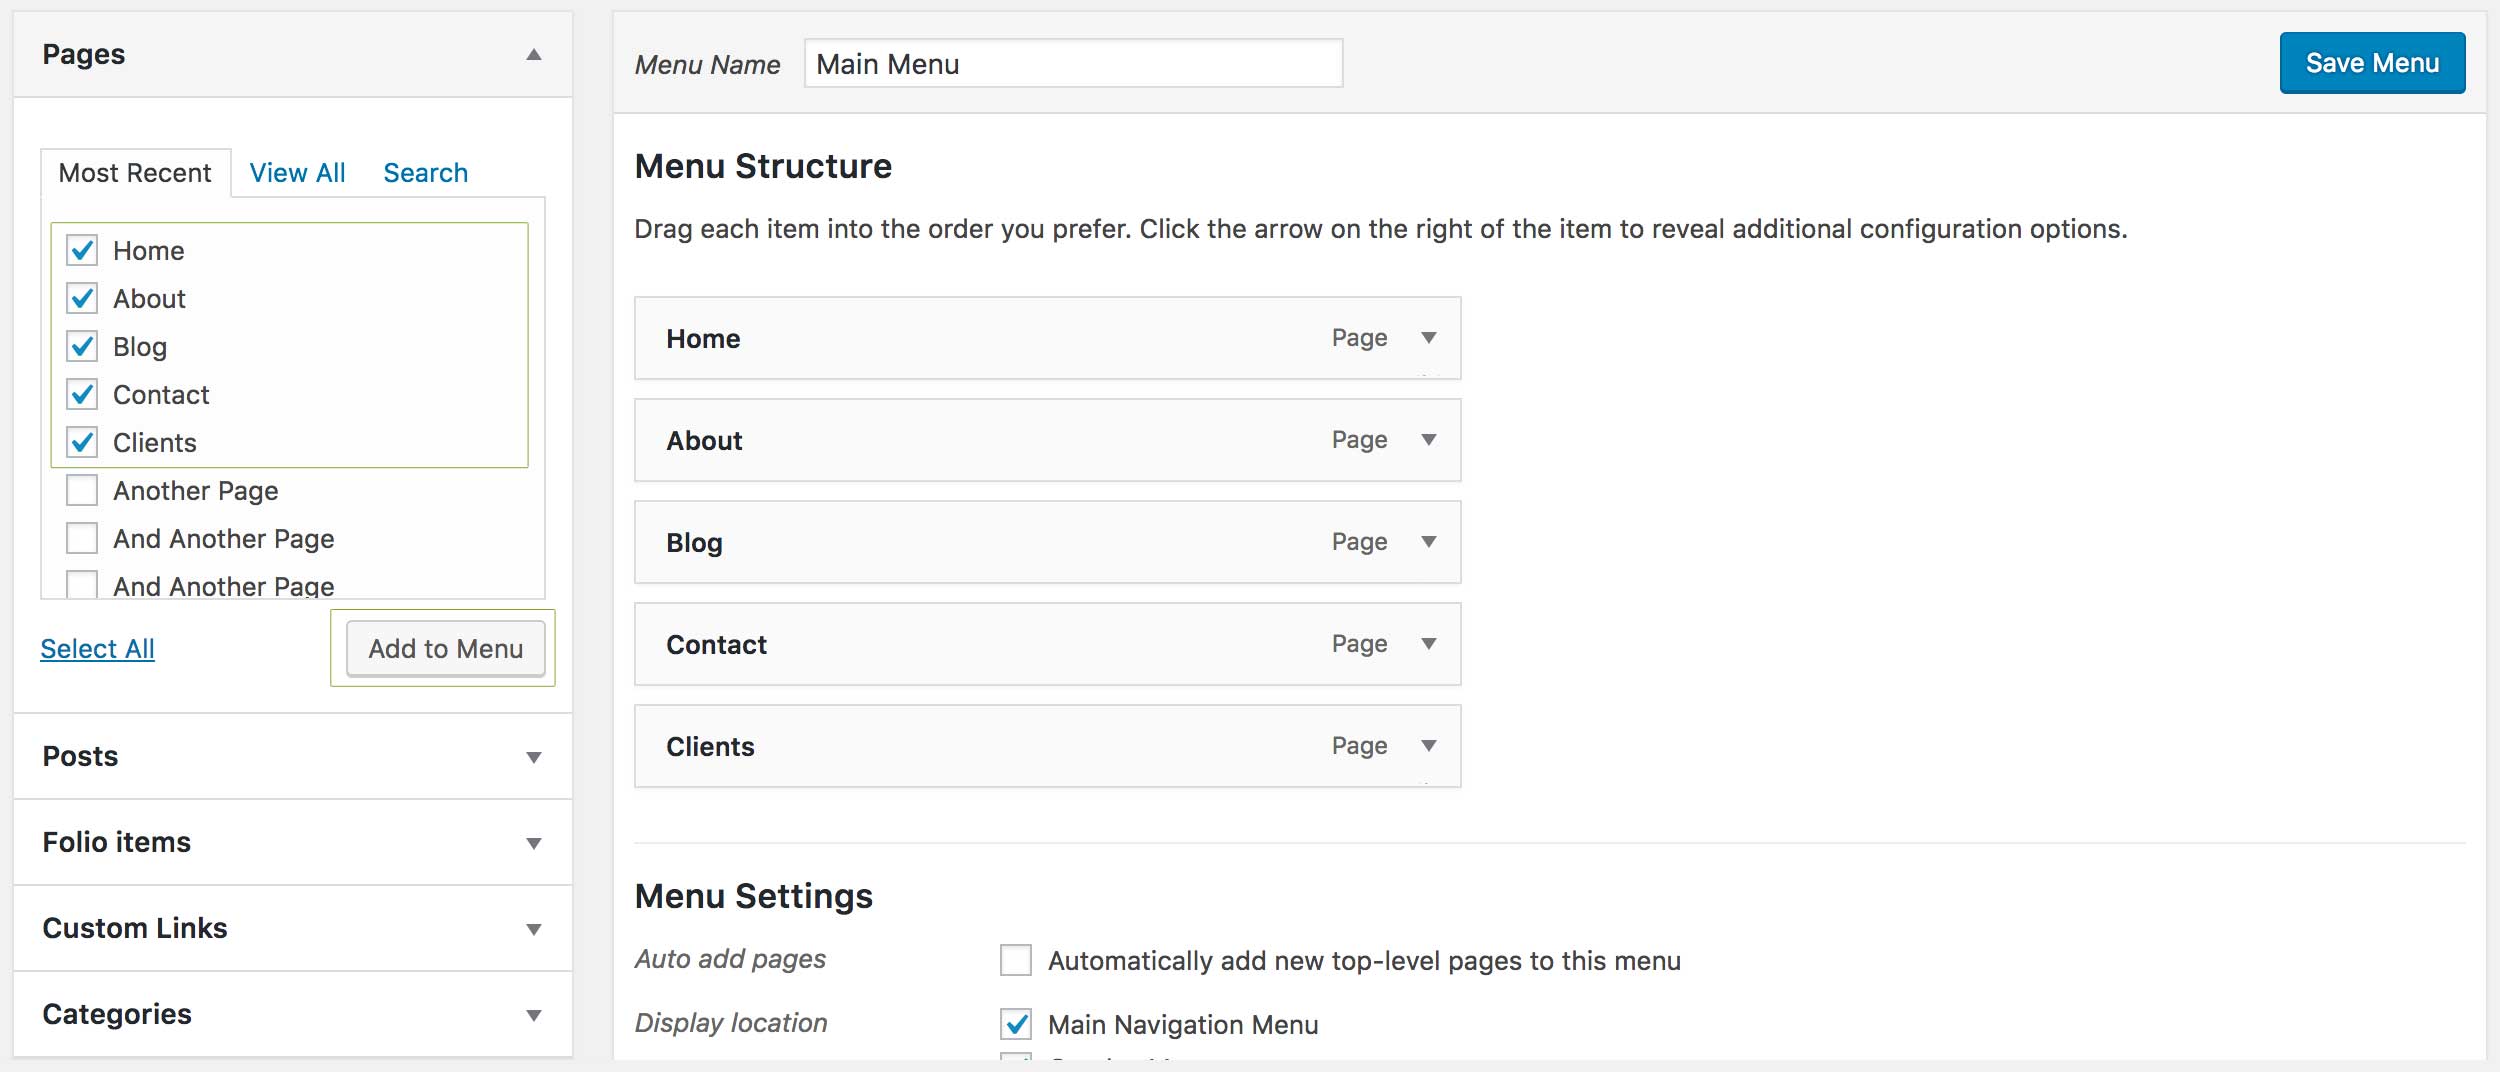
Step 3. Add Menu Items
Now select the menu location (in this case Main Navigation Menu) under "Display Location". Then select the pages, posts, portfolio items, categories or custom links to add to the menu. We can add these items by clicking + to the left of the item name, for example:
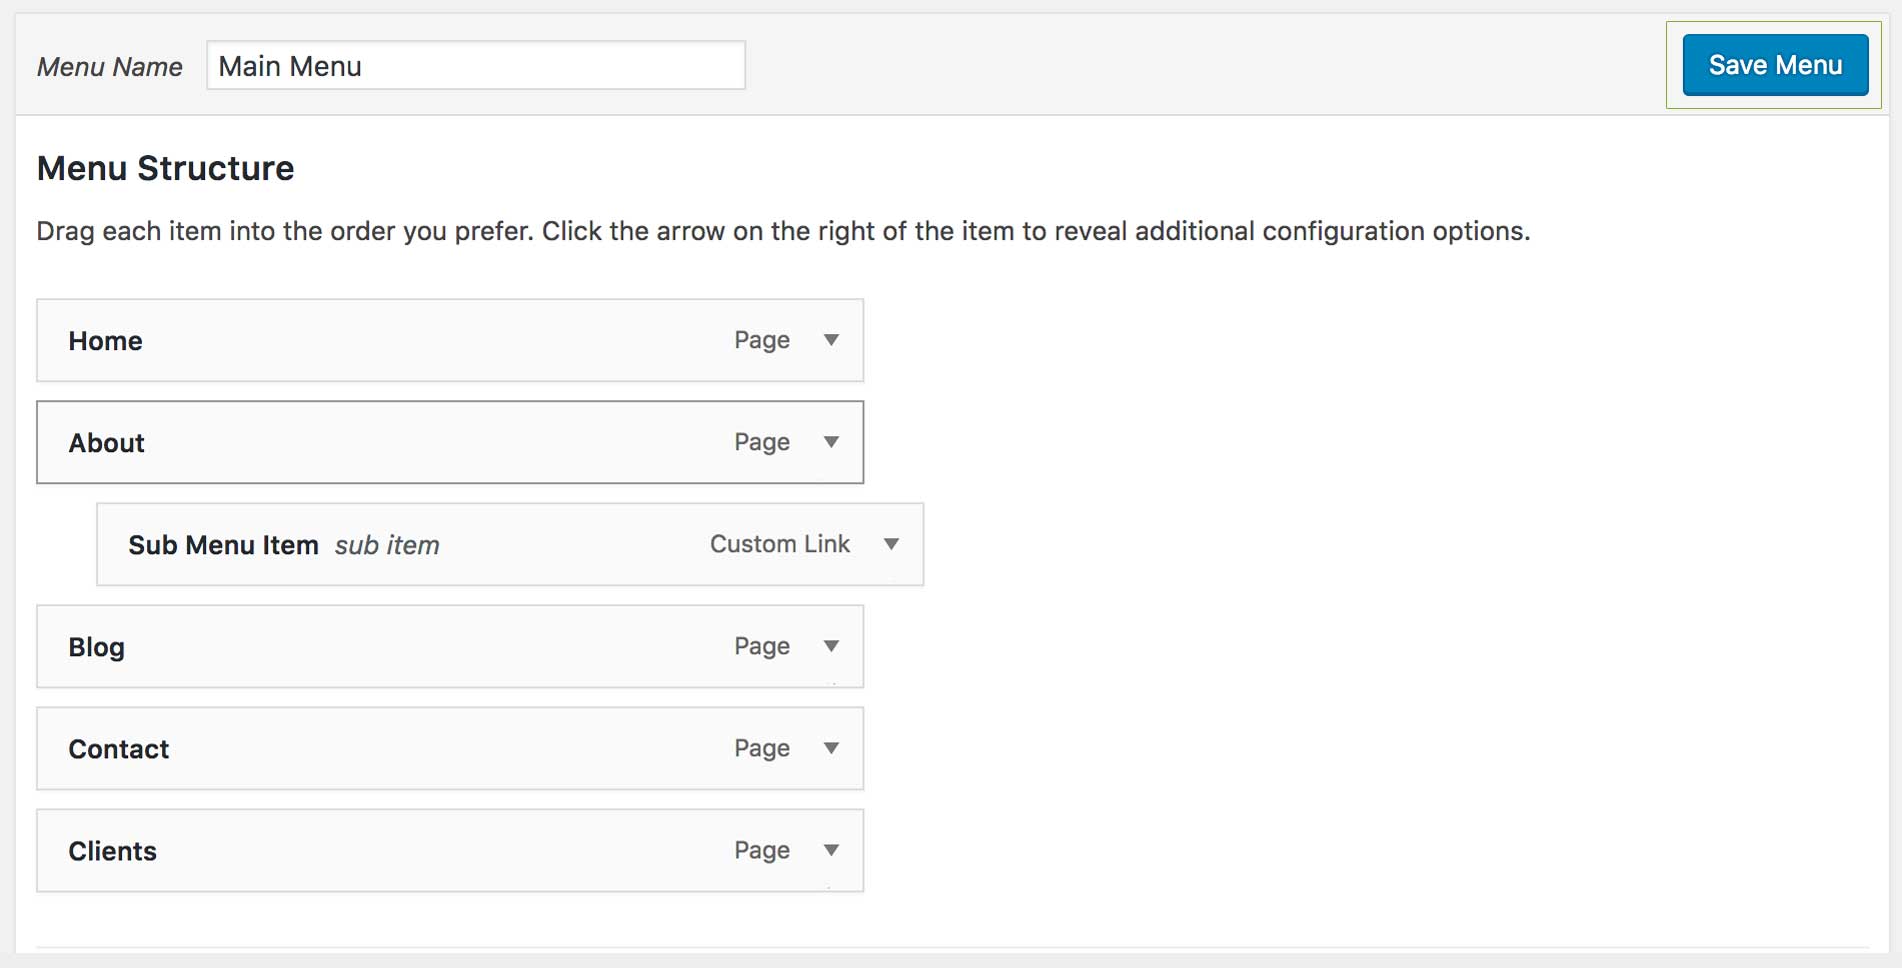
Step 4. Add Sub Menu Items
To add a sub-menu item to the main navigation, simply add another item to menu as indicated in step 3.. Once added, simply drag the item until you see the sub menu item drop zone appear and release, for example:

Step 5. Save
Once your menu is completed click Save Menu, for example:
Creating Onepage Navigation
Step 1. Create Sections
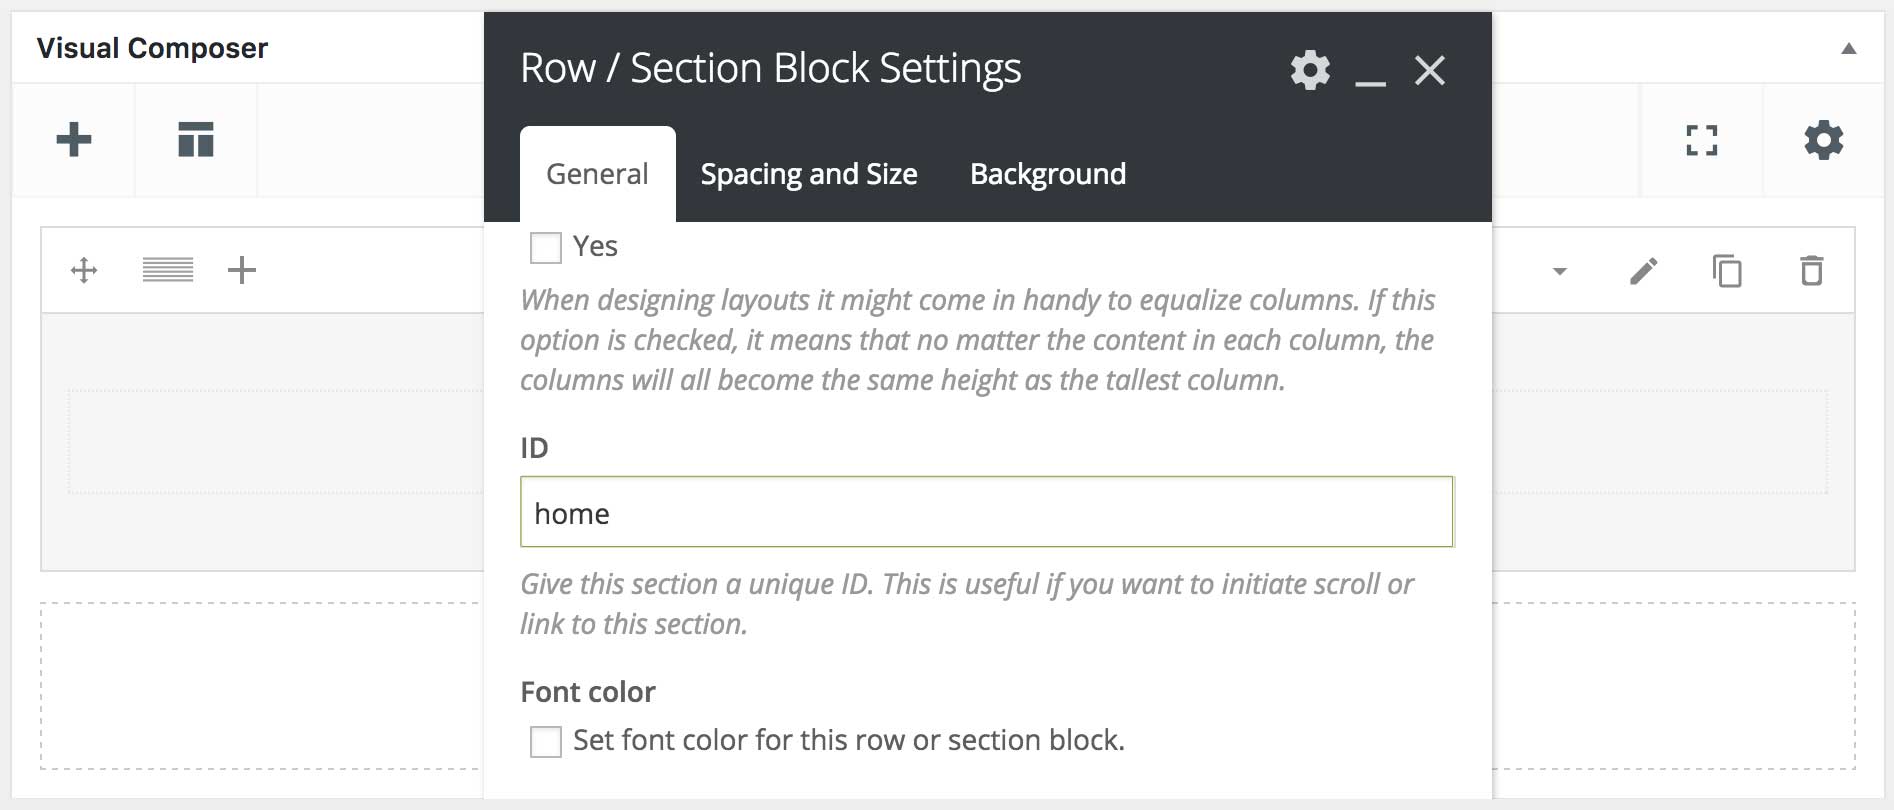
.The first step is to create the onepage sections that you require for your onepage site. This includes giving each section a unique ID that identifies the section. Note: without a unique ID, the scroll to animation will not work. Once a row/section block element has been inserted click the Edit Link(pen icon) of the row/section block wrapper and set the ID, for example:
Note: Repeat the above step for each section you'd like to reference in your onepage menu.
Step 2. Create Menu
Note: This section assumes you have read "Managing Menus Through Customiser".
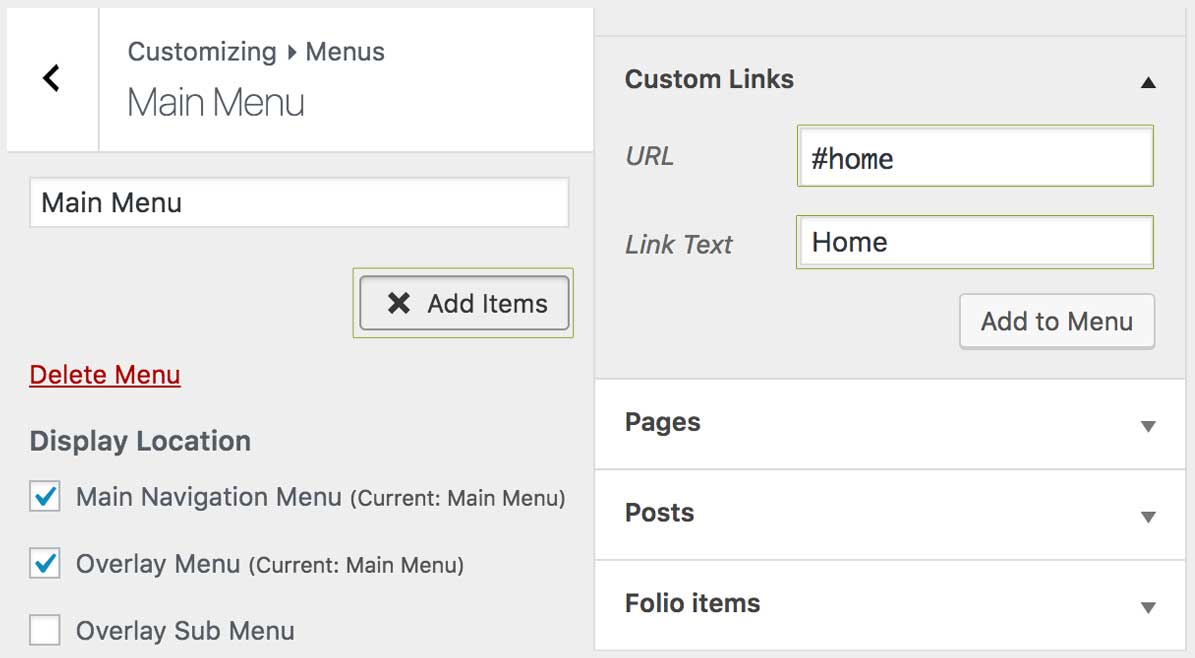
Once your sections are created you are ready to create a menu that will scroll to each section. The menu can be created through the Customiser or through Appearance > Menus. We're using the customiser in this example. We start by creating custom links that correspond to each section, where the URL is set to the ID of the section, for example:
Note: Repeat the above step for each menu link you'd like to add to your onepage menu.
Creating a Mega Menu
Step 1. Add Menu Items
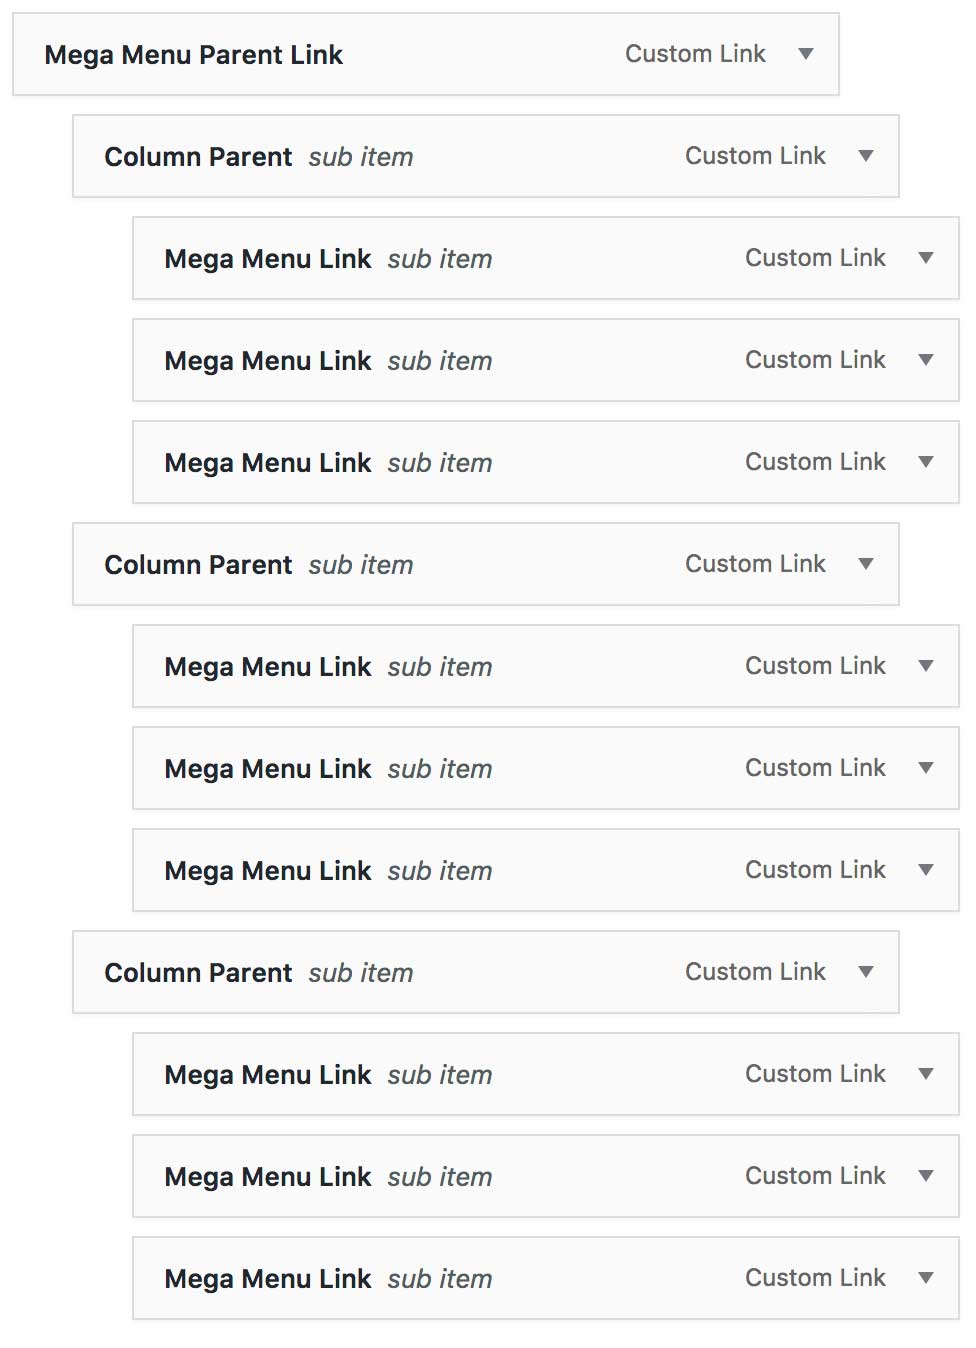
The first step is to add the necessary menu items we need for a mega menu. This will consist of a parent link, column items and mega menu links. Our example below illustrates a mega menu structure using three columns: one top level link, three second level links, and nine third level links.
Step 2. Register Mega Menu Parent Link
Once you have added the necessary items to your menu, we need to register the top level link as a Mega Menu Parent Link. This can be done by expanding the link, then setting the "Register Menu Item As" as "Mega Menu Parent Link", for example:

Step 3. Define Column Item Widths
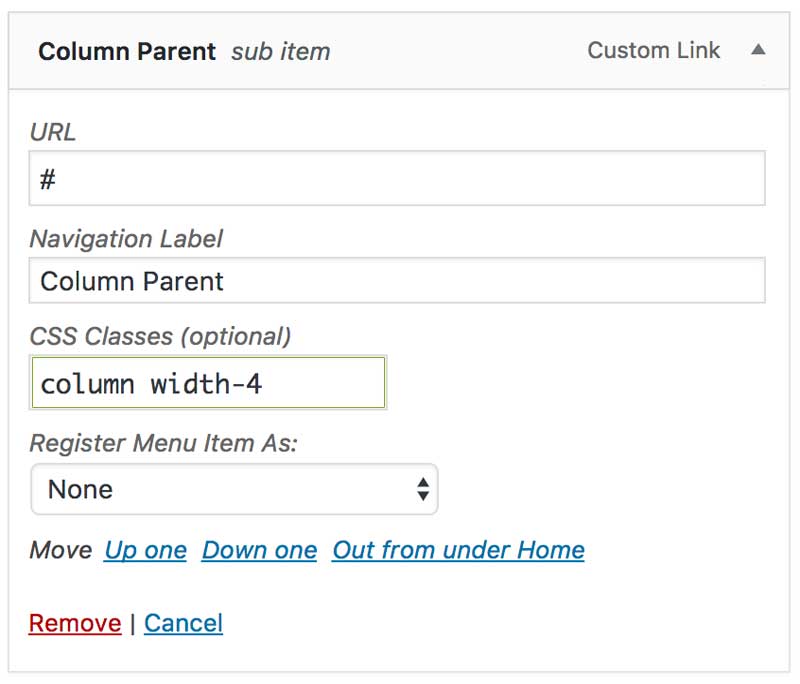
Once we have defined the parent link we can expand the "Column Item" links and give them the necessary width classes. In our example we are using three equal sized columns and therefore we give each column item the classes "column width-4", for example:
Note: Repeat the above step for each Column Item Link. Should you require less or more columns simply add/delete the Column Item Links as necessary and give them the appropriate widths. For more on column widths please refer to this Rows and Columns
Register Item as a Regular Button
Once you have added the necessary item/s to your menu, we need to register it as a button type. This can be done by expanding the link, then setting the "Register Menu Item As" as either "Regular Button(links to URL)" or as "Modal Button(links to modal)". The below example shows an item being registered as a Regular Button:
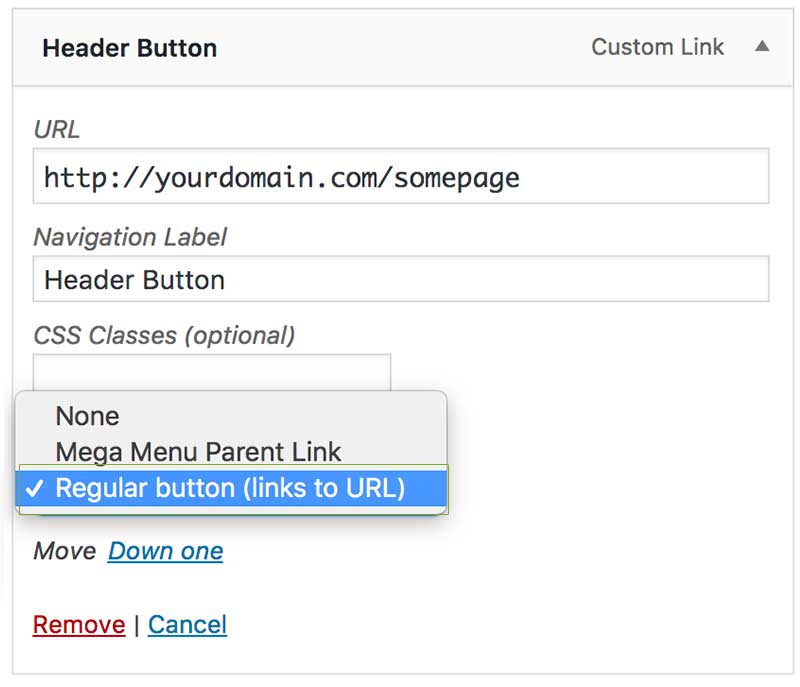
To link to a page simply enter the URL of page you want link to or add an already linked item and register it as a button.
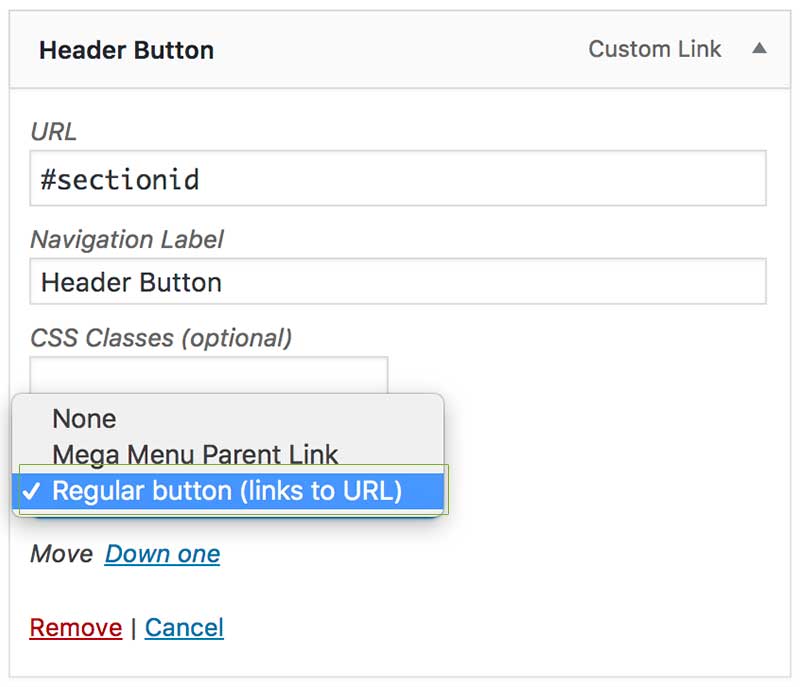
To create a sroll to section button create a Custom Link, enter the section id of the section in your page you want to scroll, then register the link as a button.
Register Item as a Modal Button
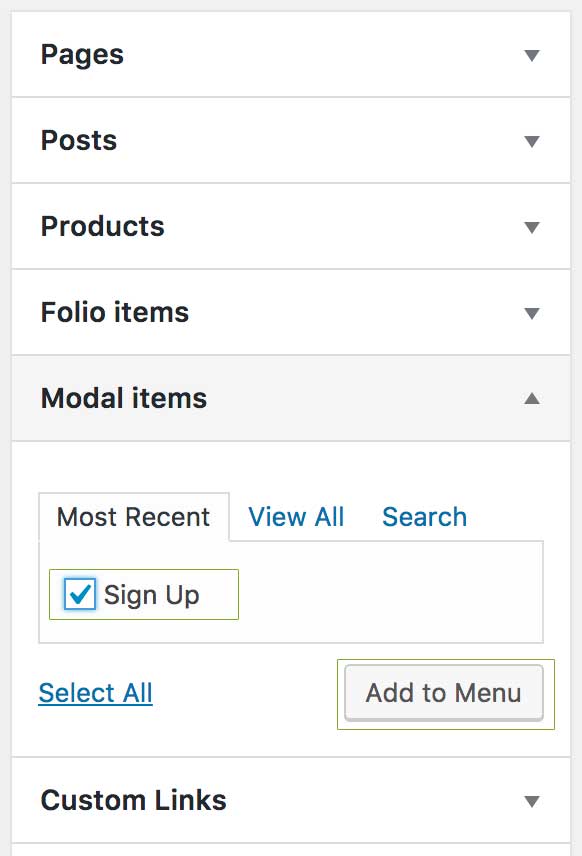
To link to a modal from a header button we first need to add a tm_modal custom post type link. This can be done from the "Modal items" located in the Menus sidebar items. This is added like any other menu link, for example:
Once added we get the option to register the link as a "Modal Button(links to modal)" under "Register Menu Item As", for example:
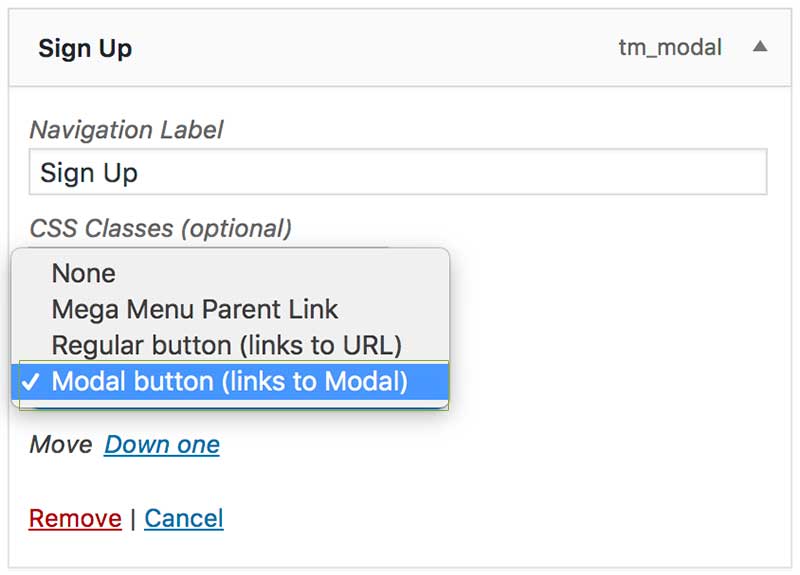
Note: Repeat the above step for header butto you'd like to add to your menu.
Styling Header Buttons
Styling header buttons are done using classes entered into the "CSS Classes" field, for example:
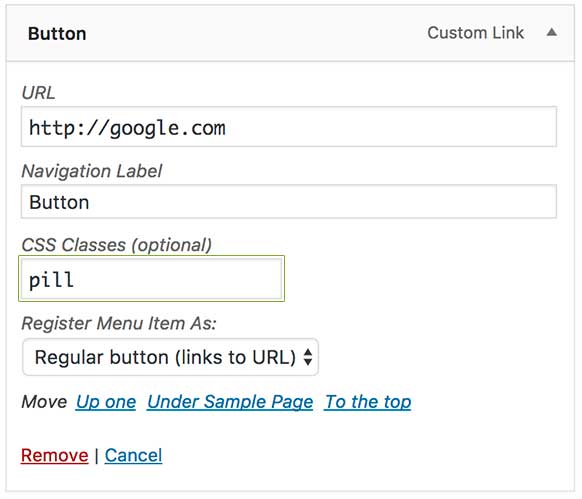
Available styling classes include:
- rounded
- pill
- shadow
Can't find what you're looking for? Submit a request in our forum.